Building a gaming PC allows you the flexibility to choose the right components that can run your favorite games. It is also an economical approach to get a gaming pc that can deliver all your needs and wants. However, building a gaming rig can be intimidating, especially to people that aren’t so fond of technical stuff. But fret not because we have this guide made for you. Here is a complete and thorough guide on how to build a gaming PC for beginners:
1 – Do your research on the essential parts you need.
When you build a gaming PC, you need to know more about the main components that make it run. This way, you’ll be able to have a clear layout at the specifications you want for your unit.
- CPU / Processor – The CPU stands for the central processing unit. It is the main component that makes your gaming PC run. It is the CPU that sends and receives instructions from one system in your unit to another. The better processor you install in your unit, the faster it can send your software and hardware information.
- GPU / Graphics Card – Your graphics card or GPU is the most crucial part of your gaming PC as it is the one that renders the images or graphics from your PC to your monitor. The more powerful GPU you have in your gaming PC, the better the in-game graphics will be.
- Motherboard – Your unit’s motherboard is where the other hardware components in your computer are installed. You should highly note that the motherboard should be compatible with all the parts you choose for your gaming rig.
- RAM – RAM stands for Random Access Memory. It is the unit that determines how much data your PC can process at the moment. It is the part of your gaming PC that stores information your processor needs to read right away. The more RAM your gaming rig has, the faster it can process lots of information.
- Storage / HDD / SSD – Your gaming PC storage can be an SSD (solid-state drive) or HDD (hard disk drive). It is the component in your gaming PC where you store all the files you have. The bigger drives you have mean more storage to save your games, files, and media.
- Power Supply – The power supply is a vital piece of your unit as it is the one that supplies electricity/power to all of your components. It is responsible for getting the electricity from an outlet to individual systems in your computer.
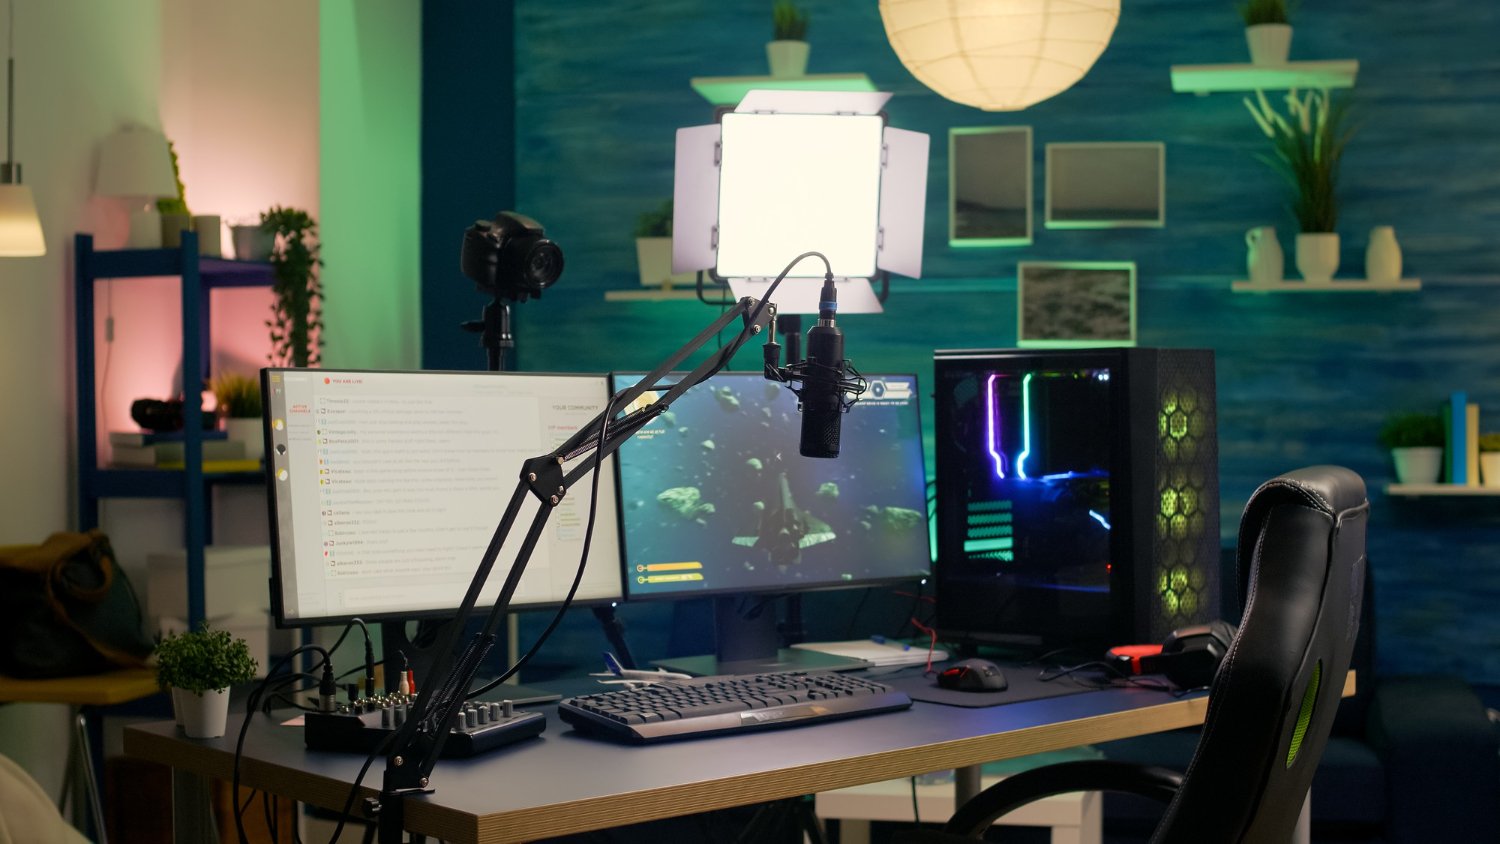
- Case – Then there is the case that requires an aesthetic choice for your gaming rig. However, you also need to consider the cooling feature of your case. It is best to pick an open-air case to keep the dust-out.
2 – Know the purpose why you plan to build a gaming PC.
Starting is the hardest part of building your gaming PC. There are a lot of questions, such as where should you start? What are the components you should buy? How will you pick the perfect case? But you need to start with the main question, “why are you building a unit” and “what kind of PC do you want to build?”
Some people need to build a gaming PC because they prefer to get a rig without shelling out too much money. The main reason for this is that a pre-built unit costs more than building one. Another thing is that building a gaming rig allows you to be more flexible in choosing which brand of components you would like to use. Another great thing about building a gaming pc is you can actually build a gaming rig perfectly designed for the game you play.
3 – Shopping for your gaming PC’s components.
After you know your goal, the next thing you need to do is go shopping for your main components. Shopping for components means that you need to research, consider your budget, and pick the right parts. Remember that you can’t just buy all the components without doing the proper research and expect that you can put it all together. As stated above, your motherboard, for example, needs to be compatible with all the other components or else, it will not work.
After you have researched and chosen the right components for your gaming rig, the next step is to find the best shop where you can buy them. You can go to Amazon or eBay, but you need to ensure that you have a warranty for the items you’re buying online. However, I highly recommend that you go to a PC store to choose and ask for recommendations.
4 – Putting it all together.
Once you have all the components, the next step is to put them all together. Find a workspace that cannot cause any friction as it can damage your main components. The workspace should be clean. Another thing you should be ready for is your Windows software. You can create a Windows 10 bootable USB drive or CD. You can buy it, or it can come for free if you purchase a specific component.
Once you have all the things ready, here are the steps you should do:
- Install the CPU on the motherboard.
- Install your CPU fan or cooling system.
- Insert your RAM into their motherboard slots.
- Install your storage, HDD or SSD. If you choose an SSD for your gaming rig, we also have a guide on installing an SSD.
- Attach the motherboard on your case.
- Install your graphics card.
- Install your power supply and connect all the cables.
5 – Testing your gaming rig.
Once all components are installed on your motherboard and in your case, check all the cables are correctly connected. Press down everything that is in their specific slot to make sure they are correctly installed. Open your gaming rig and install your Windows 10 OS. Once everything is installed, make sure that your motherboard software is updated. If all things go well, then you can start playing on your gaming PC.
If you ever encounter any problems, you can always contact a gaming PC expert to check on your installation. Don’t be afraid to ask your gamer friends for advice. And always make sure to check the warranties you have for each component.