Are you experiencing lagging load times or unresponsive programs? Is your gaming PC loading slower every time you try to run several programs simultaneously? If that is the case, the lack of RAM might be the underlying issue.
Most prebuilt gaming PCs have 16GB RAM. However, is it enough to run your favorite games? Or do you need to add more RAM to your system?
Here’s a video tutorial from us at CyberPowerPC on “How Much RAM does your PC really need?:”
Why is RAM important in your gaming PC?
The RAM is responsible for storing programs or applications currently running in your system. This includes everything from your operating system, and background apps, to video games. Almost everything you do in your gaming PC consumes RAM and relies on it having sufficient memory.
To explain it simply, the more things you do on your gaming PC, the more memory or RAM you need. This is why you need to increase your PC RAM memory, as newer games and programs require more memory bandwidth.
How to know if your gaming PC needs more RAM?
While it is hard to diagnose the issues in your gaming PC, there are certain signs that can tell you if your unit needs a RAM upgrade.
Here are several issues you may experience if your current system lacks RAM memory:
- Opening several programs at once is impossible.
- Programs often stop responding.
- Clicking an icon or opening a program has a delayed response.
- You get a system notification that says your memory is low or not enough.
- System updates cause your computer to slow down.
- You are having display problems, especially when running a video game.
- You try to open a new app or video game, then the system stops responding.
How to check the RAM memory of your gaming PC?
Before you upgrade your RAM, you need to know how much RAM is currently installed in your gaming PC. You also need to check your system to know how much memory it can support.
To check the memory on your gaming PC, follow these steps:
- Step 1 – Click Start on the Taskbar.
- Step 2 – Right-click This PC.
- Step 3 – Click Properties.
Once you know how much your RAM memory is, use a System Scanner tool to determine how much memory you can still add to your PC.
How much RAM do you need in your gaming PC?
Generally, prebuilt gaming PCs include a standard 16GB RAM. However, how you use your system will influence how much RAM you may need. Check this simple guide below to help you:
- 16GB RAM
16GB of RAM is enough for intermediate users who are looking for extra speed and smooth performance. This amount of RAM is also good for casual gamers and professional users who tend to run several programs simultaneously. This includes users whose usual activities include:
- word processing
- spreadsheets
- internet browsing
- casual video games
- running simple graphics programs
- flash games
- music
- videos
- multitasking
- 32GB RAM
32GB RAM memory is for serious gamers, advanced, and multimedia users. This amount of RAM will be able to run memory-hungry programs easily and smoothly. This is the RAM amount you need if your PC activities include:
- high-performance gaming
- high definition video
- graphic design
- 3D modeling
- multimedia editing
- intensive multitasking
- 64GB RAM
64GB RAM is recommended for top-end users and professional gamers. This will enable your system to run RAM-intensive programs like AAA games at the highest refresh rate and resolution. You can also run modern 3D modeling applications and run 4K or 8K photo/video editing software.
How to add more RAM to your gaming PC?
Once you’ve decided how much RAM you’re going to add to your system, the next step is to buy the RAM memory and install it into your system. Follow the guide below:
- Shut down your unit and wait for it to cool down.
- Unplug all cords, cables, and accessories connected to your PC.
- Open the CPU case. Carefully remove all the screws, and place them on the side.
- Before touching anything else, lightly tap any unpainted metal surface inside your PC. This is to discharge the static electricity from your body so it won’t cause any damage to sensitive internal components.
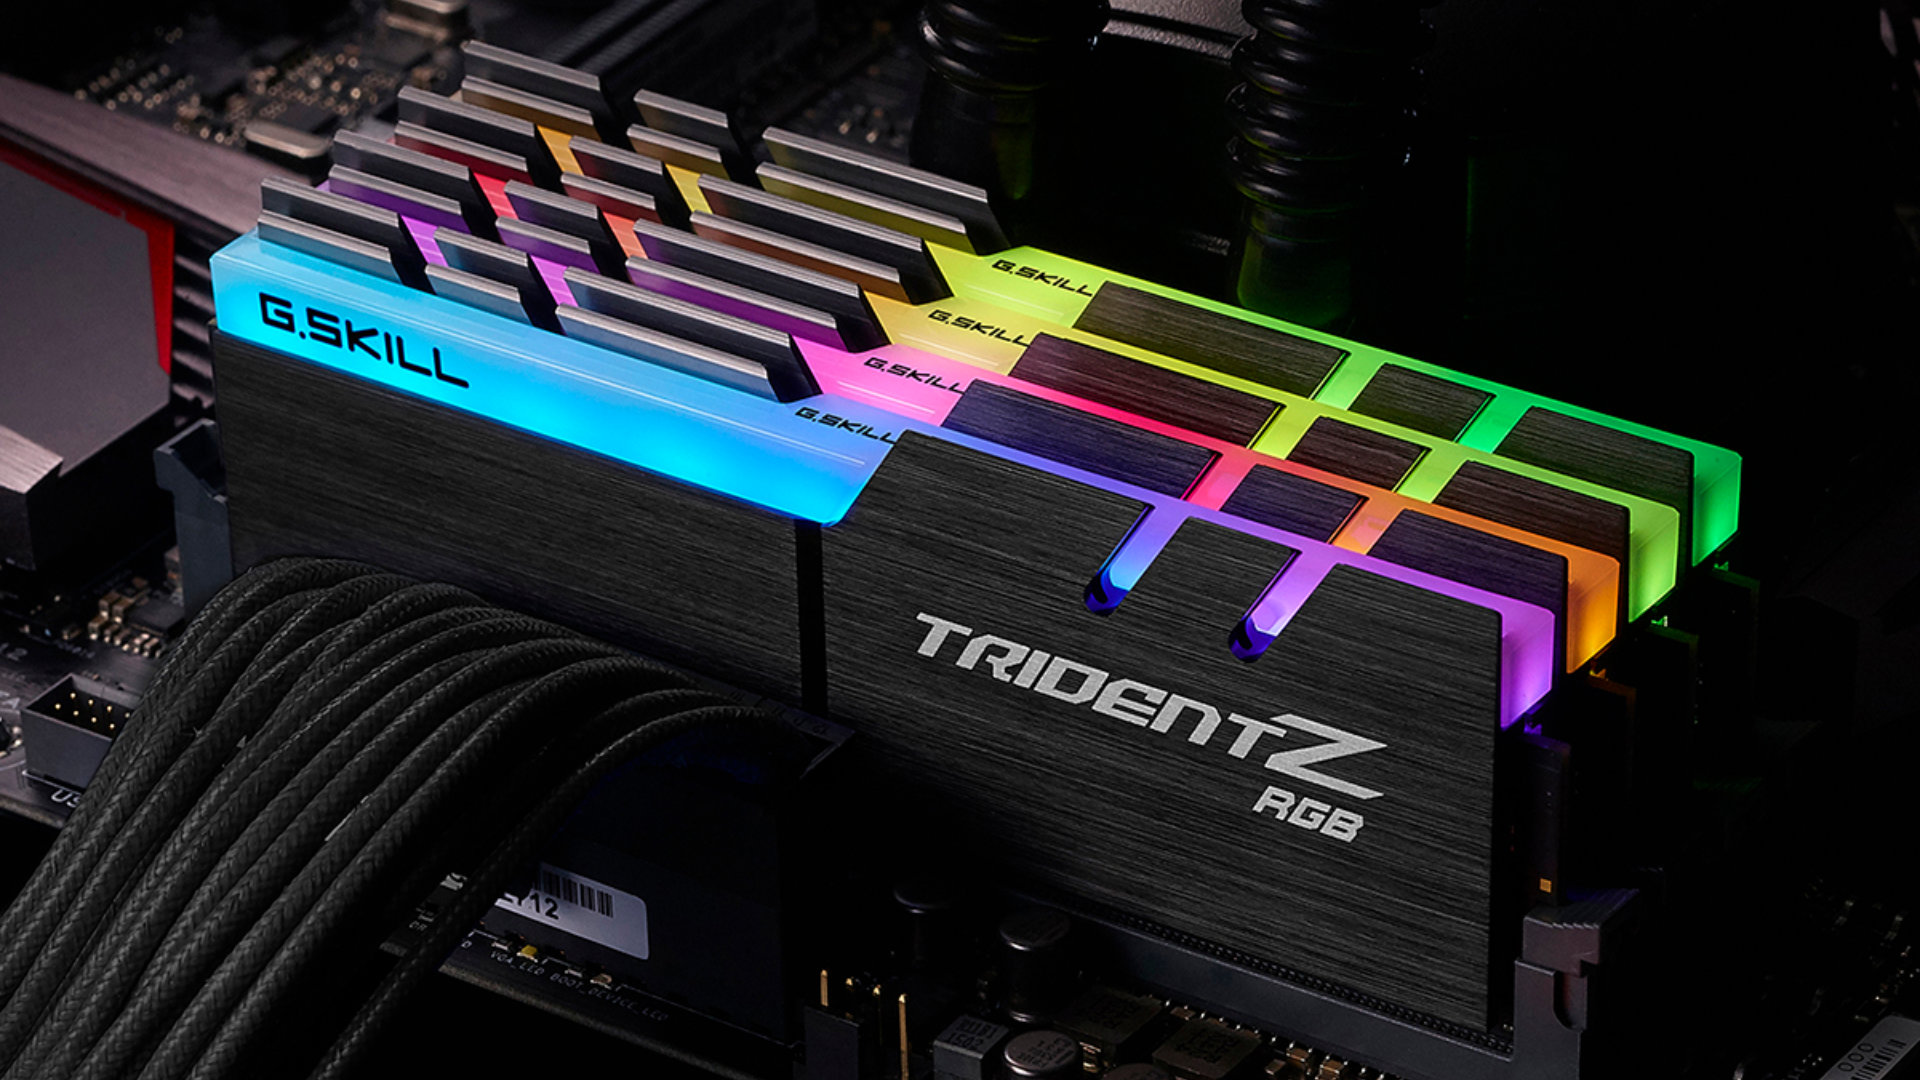
- Look for the RAM slot in your motherboard. You can refer to your PC manual for this.
- Unpack your additional RAM module and slowly insert it into the slot. Make sure to place the edge with the gold connectors in its slot.
- Push it carefully until you hear it click or it is securely in place.
- Check if the notch in the RAM module is aligned correctly.
- Once the additional RAM is installed, put the case back and plug all the cables back.
- Turn on your gaming PC and check if everything is working fine.
If everything is good, the last step is to check if the system recognizes your added RAM. Go to This PC, then right-click Properties. Check if the amount of your new RAM is added to the previous number. If it does, your RAM is installed correctly and recognized by your gaming PC.