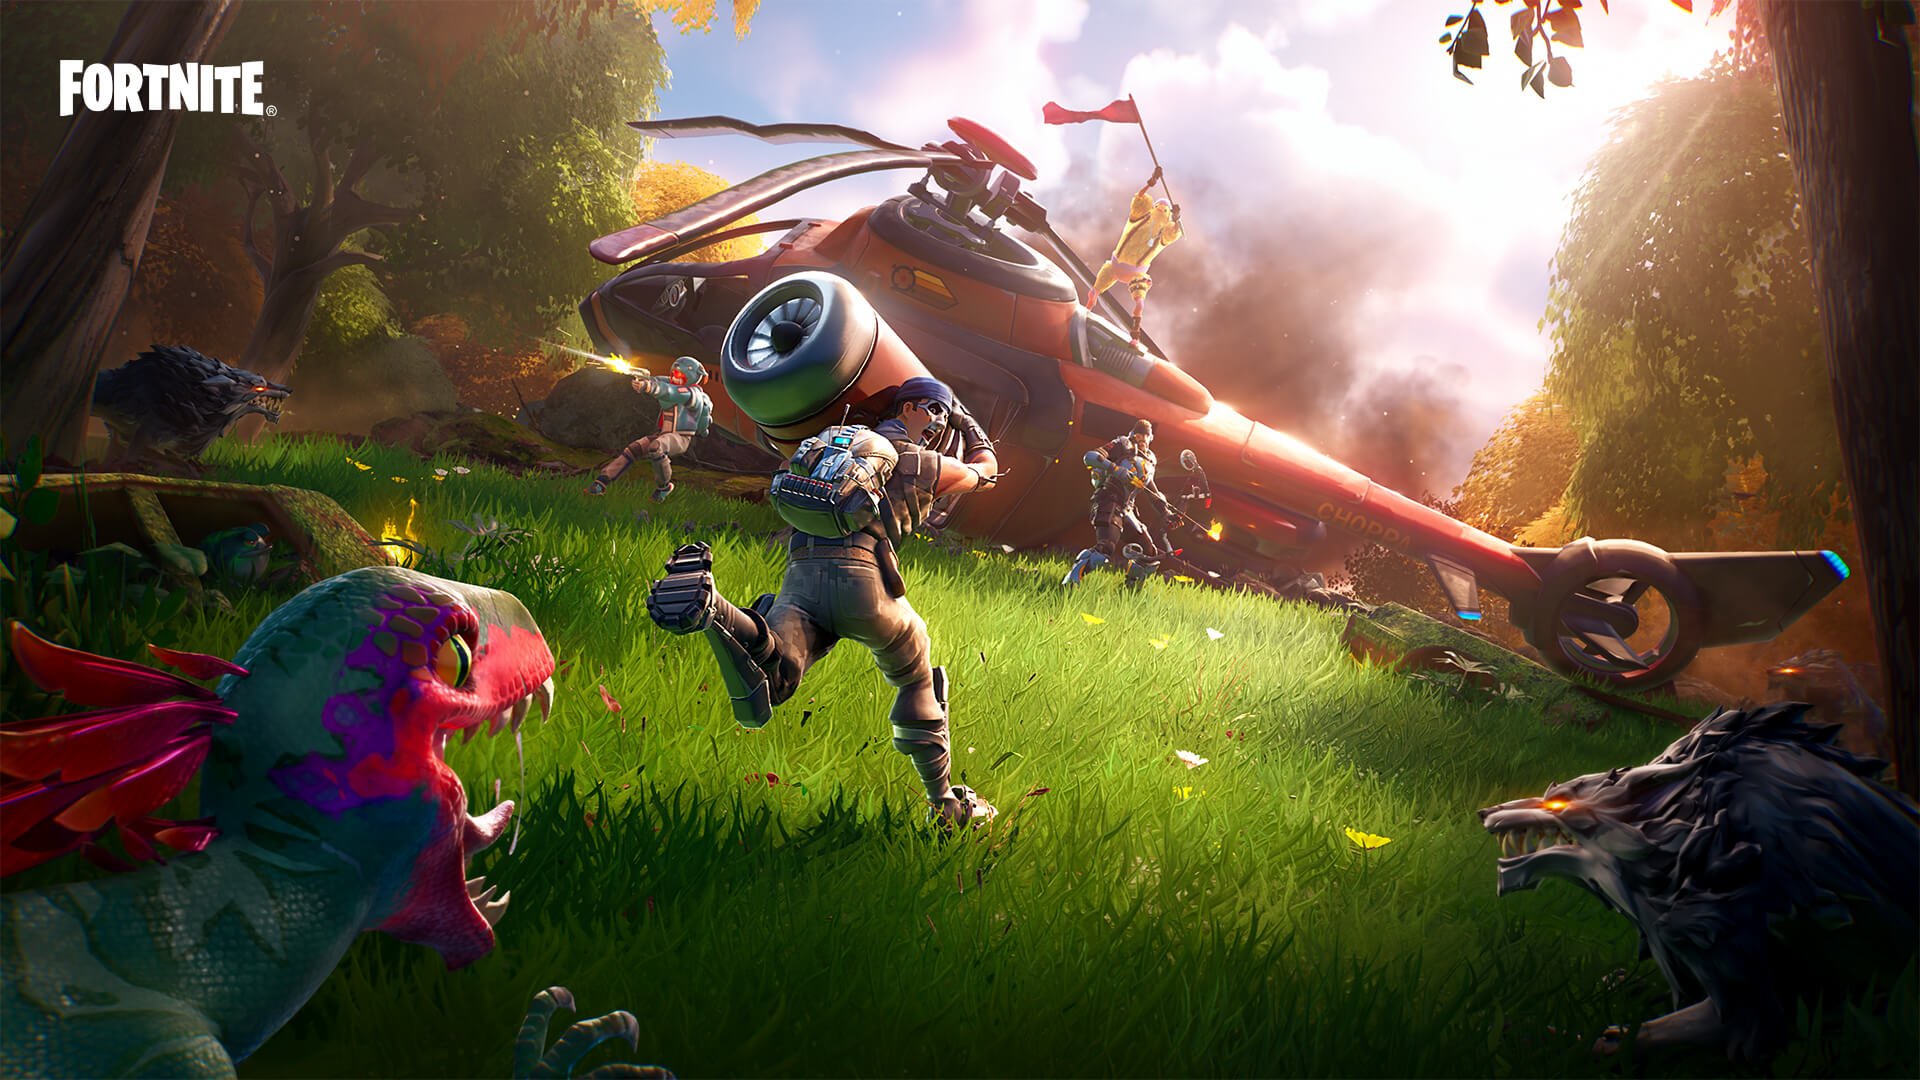
If you’re a big fan of Fortnite and want to improve the graphics and FPS of the game to enhance your gaming experience. Then you stumbled upon the right article. Here are 5 tips on how to improve FPS and avoid lags in your gaming PC when playing Fortnite.
- Check if your PC meets the game’s minimum requirements.
- Adjust Fortnite’s in-game settings.
- Update the driver of your graphics card.
- Modify the Windows settings.
- Stop any apps or programs that hog your resources.
1 – Check if your PC meets the game’s minimum requirements.
Fortnite has a minimum set of requirements so you can install and play the game smoothly. Check if your PC meets all these minimum requirements for the game. It is the perfect time to upgrade your hardware.
Minimum Requirements
- Processor: Core i3-3225 3.3 GHz
- Video Card: Intel HD 4000 on PC; Intel Iris Pro 5200
- Memory: 4GB RAM
- Operating System: Windows 7/8/10 64-bit or Mac OS Mojave 10.14.6
And suppose you want the best gaming experience possible from Fortnite. In that case, we suggest that you look into the game’s recommended requirements. You can check the reference below:
Recommended System Requirements
- Processor: Core i5-7300U 3.5 GHz, AMD Ryzen 3 3300U, or equivalent
- Video Card: Nvidia GTX 960, AMD R9 280, or equivalent DX11 GPU
- Video Memory: 2 GB VRAM
- Memory: 8 GB RAM or higher
- OS: Windows 10 64-bit
Epic Games, its developer, has also given their list of quality presents specifications for players to use. Upgrading to this hardware below will significantly improve the performance and graphics of Fortnite.
Epic Quality Presets Specifications
- Processor: Intel Core i7-8700, AMD Ryzen 7 3700x or equivalent
- Memory: 16 GB RAM or higher
- Video Card: Nvidia GTX 1080, AMD Radeon RX 5700 XT, or equivalent GPU
- Video Memory: 4 GB VRAM or higher
- Hard Drive: NVMe Solid State Drive
- OS: Windows 10 64-bit
If your gaming PC meets the minimum or recommended system requirements for Fortnite, then proceed to the next steps.
2 – Adjust Fortnite’s in-game settings.
Another tip to improve the FPS and graphics of Fortnite is to adjust its in-game settings. Follow these steps below to tweak Fortnite’s in-game settings:
- Launch Fortnite from Epic Games. Click the Main Menu located in the top right corner.
- Click on the gear/settings icon from the main menu.
- In the video settings, make the following settings:
- Windows Mode switches to Fullscreen.
- Adjust the Display Resolution to your computer screen.
- Choose Unlimited to Frame Rate limit.
- Adjust the Quality to Low or Medium.
- Set the View Distance to either Far or Epic.
- Turn off the Shadows and Anti-Aliasing settings.
- Choose low for the following settings:
- Textures
- Effects
- Post Processing
- Turn off the following settings:
- Vsync
- Motion Blur
- Show FPS
- Remember that you can constantly adjust the settings depending on your preferences. For example, turning down the View Distance will affect the game’s visual graphics quality. This will make the land look more barren. However, it has its advantages. With the land having little details, you will find it easier to see or notice hidden enemies because the settings can’t render any long ranges.
- Save settings and exit Fortnite. Re-launch the game to see the difference.
3 – Update the driver of your graphics card.
Outdated drivers for your video cards can affect the FPS of your game and can lead to lag spikes. So always keep your video card drivers up-to-date.
If you don’t have the time to manually check and update your video card driver, you can use a tool to auto-upgrade your drivers. One tool you can use is Driver Easy.
Driver Easy works by identifying your drivers and letting you know if one of your drivers needs to be updated. You can set the drivers to automatically update.
To use Driver Easy, follow the steps:
- Install the Driver Easy.
- Launch the Driver Easy, and click the Scan Now button. The tool will scan the computer and detect any issues or problems with the drivers.
- Click the Update All. This will automatically download and install all the correct drivers on your system.
You can download Driver Easy for free and later upgrade to Pro Version.
4 – Modify the Windows settings.
You can quickly boost your gaming PC’s performance by tweaking your Windows setting. Follow the steps below:
Adjust the Advanced System Settings
- Go to the Control Panel.
- Click System and Security.
- Select System.
- Choose Advanced system settings.
- Go to the System Properties.
- Click on the Advanced bar and the Settings button below performance.
- Go to the Visual Effects tab.
- Select the Adjust for best performance.
- Click Apply and Ok to save changes.
Adjust the Power Settings
- Go to the Control Panel. Select the Power Options.
- Select High performance as the setting for your Power Plan.
Disable any Windows Update Delivery Optimization
- Go to Windows Update Settings. You can simply type in windows update from the Start Menu search box.
- Choose Advanced options, and click on Delivery Optimization.
- Turn off the Allow downloads from other PCs.
Once you have tweaked the settings above, launch Fortnite, and you will definitely see improvements in the game.
5 – Stop any apps or programs that hog your resources.
You may not be aware, but sometimes programs are running in the background, hogging your PC resources. These programs can slow down the processing speed of your unit, which will affect your gameplay experience.
Before launching Fortnite, you need to close any programs running in the background. To do this, follow the steps below:
- Open the Task Manager.
- Go to the Processes tab. You will see the programs that hog the resources of your PC. Right-click those apps you don’t need when playing Fortnite and click End task.
- Never close any programs you are not familiar with.
Another tip that can hog the resources of your gaming PC is the temporary junk files. To delete any temporary junk files from your PC, follow these steps:
- Launch the Run dialog box. Type %temp% and hit Enter.
- You will prompt to click Continue to open a folder.
- Select all files and delete them.
- If a warning pops out saying that “the action can’t be completed because the folder or file is open in another program,” click the Skip button.
- Once done, re-launch the Run dialog box. Type “temp” and hit Enter. Click Continue to open the folder.
- Select all files and delete them.