NVIDIA regularly releases drivers that update and improve the performance of your graphics card. These often take place when new games release so that they perform best on your hardware. Improvements can also be made to the performance of features like DLSS and raytracing. By installing the latest drivers you will ensure that you get the best gameplay experience out of your NVIDIA GeForce graphics card.
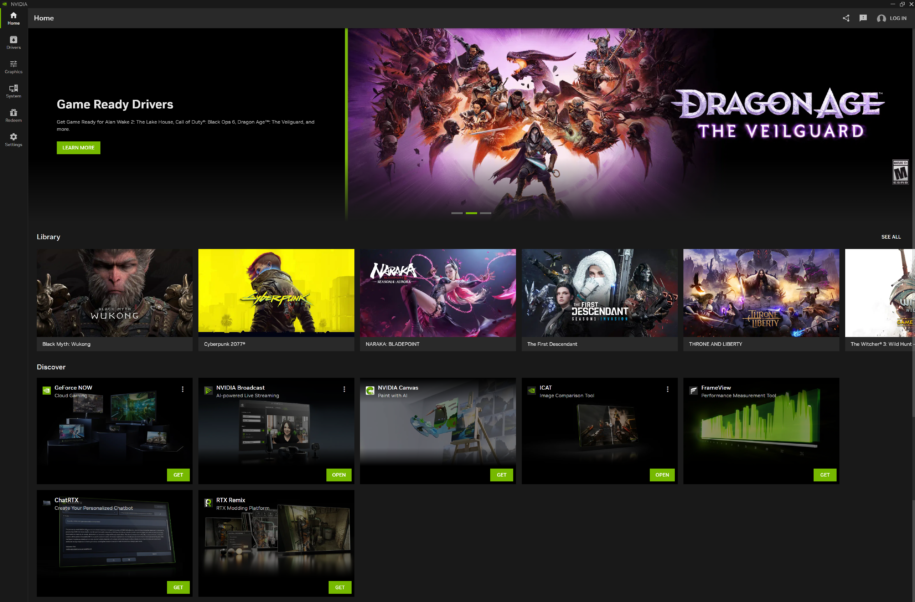
There are two ways to update Nvidia drivers: fist is by manually updating (yuck who wants to do that) and second is by using the newest application they have shifted their focus to, the NVIDIA App. Previously GeForce experience was the app you used to update your drivers, however the NVIDIA App has replaced it going forward. It combines features from both the GeForce Experience app and the NVIDIA control panel, offering a more unified experience from which you can control your GPU settings.
Below are two separate guides on how to download and update your Nvidia Drivers:
1 – Manual Update
To manually update your Nvidia driver, follow the steps below. Most of the time you will not be updating your drivers manually. This is generally done if you need to roll back to an older version if the latest drivers are causing an issue in a game you are playing:
Step 1 – Run the DirectX Diagnostic Tool.
Open and run the DirectX Diagnostic Tool to find the exact graphics card model installed on your gaming PC. Skip this step if you already know the model of your graphics card.
- Press Windows + R and type dxdiag.
- Click the Display tab, and check the “Chip Type” entry. This is your graphics card model.
- Next, go to the System tab. Look at the operating system to see if your system is running a 32-bit or 64-bit version of Windows.
Step 2 – Go to the Nvidia GeForce website.
The Nvidia GeForce website is where you can download the latest drive of your graphics card.
Step 3 – Find your graphics card model.
Click the “Drivers” tab in the menu bar of the website. To search for your driver, you need to answer the following things:
- Product Type
- Product Series
- Product (Model)
- Operating System
- Language
- Download Type
Once done, click the Start Search button and wait for the results to appear.
Step 4 – Download the latest drivers.
Check the latest driver in the results and click the “Get Download” button. You can check the release date and the driver version at the bottom of each result. Double-check the driver’s release date before clicking the download button.
Step 5 – Install the drivers.
Once you have downloaded the driver, click the app and run the installer. The installer will automatically remove any old drivers and install the updated ones. Remember that your screen may flicker or go black for a short time during the installation of the new drivers.
Step 6 – Use System Restore if there are any problems.
Once the driver update is installed, your system will automatically create a restore point. This will allow you to roll your system back to before the new driver was installed. You can use it if you notice that the new driver is causing issues to your system after installing it.
2 – Installing Update Drivers Using NVIDIA App
To install your new Nvidia drivers using the NVIDIA App
Step 1 – Download the App of Your Choice
The NVIDIA App is the all in one app to control your NVIDIA graphics card.
Download and install the NVIDIA App from NVIDIA.
After the installation is complete, launch the program.
Step 2 – Update The NVIDIA App
Once you start the NVIDIA App, it will check your system for available updates.
Step 3 – Check any driver updates.
Click the “Drivers” tab to see if there are any updates available. Click the Check for updates button if the NVIDIA App hasn’t been checked recently.
The app will notify you every time a new drive is released.
Step 4 – Download the driver update.
Click the “Download” driver button to download the available update. In most cases, the NVIDIA App may have already downloaded the files; all you have to do is install them.
Step 5 – Use “Express Installation.”
Once the driver has been downloaded, click the “Express Installation” button. This is the easiest way for the driver to be installed for users that are not too technical.
Advanced users, on the other hand, can choose the Custom option when installing the driver update. This will allow you to choose which drivers you want to install in your system.
Step 6 – Let the NVIDIA App install the driver update.
The best thing about the NVIDIA App is that it will handle all installation work. You don’t need to worry about anything because it will do everything for you.
However, similar to manual updating, during the installation of the new drivers, you may experience your monitor flickering or shut off for a few seconds. Don’t do anything but wait for the monitor to boot up again until the installation is done.
Step 7 – Turn to the System Restore tool if any issue occurs.
Once a new driver update is installed on your PC, it will create a system restore point. If you encounter any issues with the update, you can boot into System Mode. Run a system restore to roll back your system before the drivers are updated.
***
For more tips on how to update and maintain your gaming PC, make sure to follow and bookmark our blog.