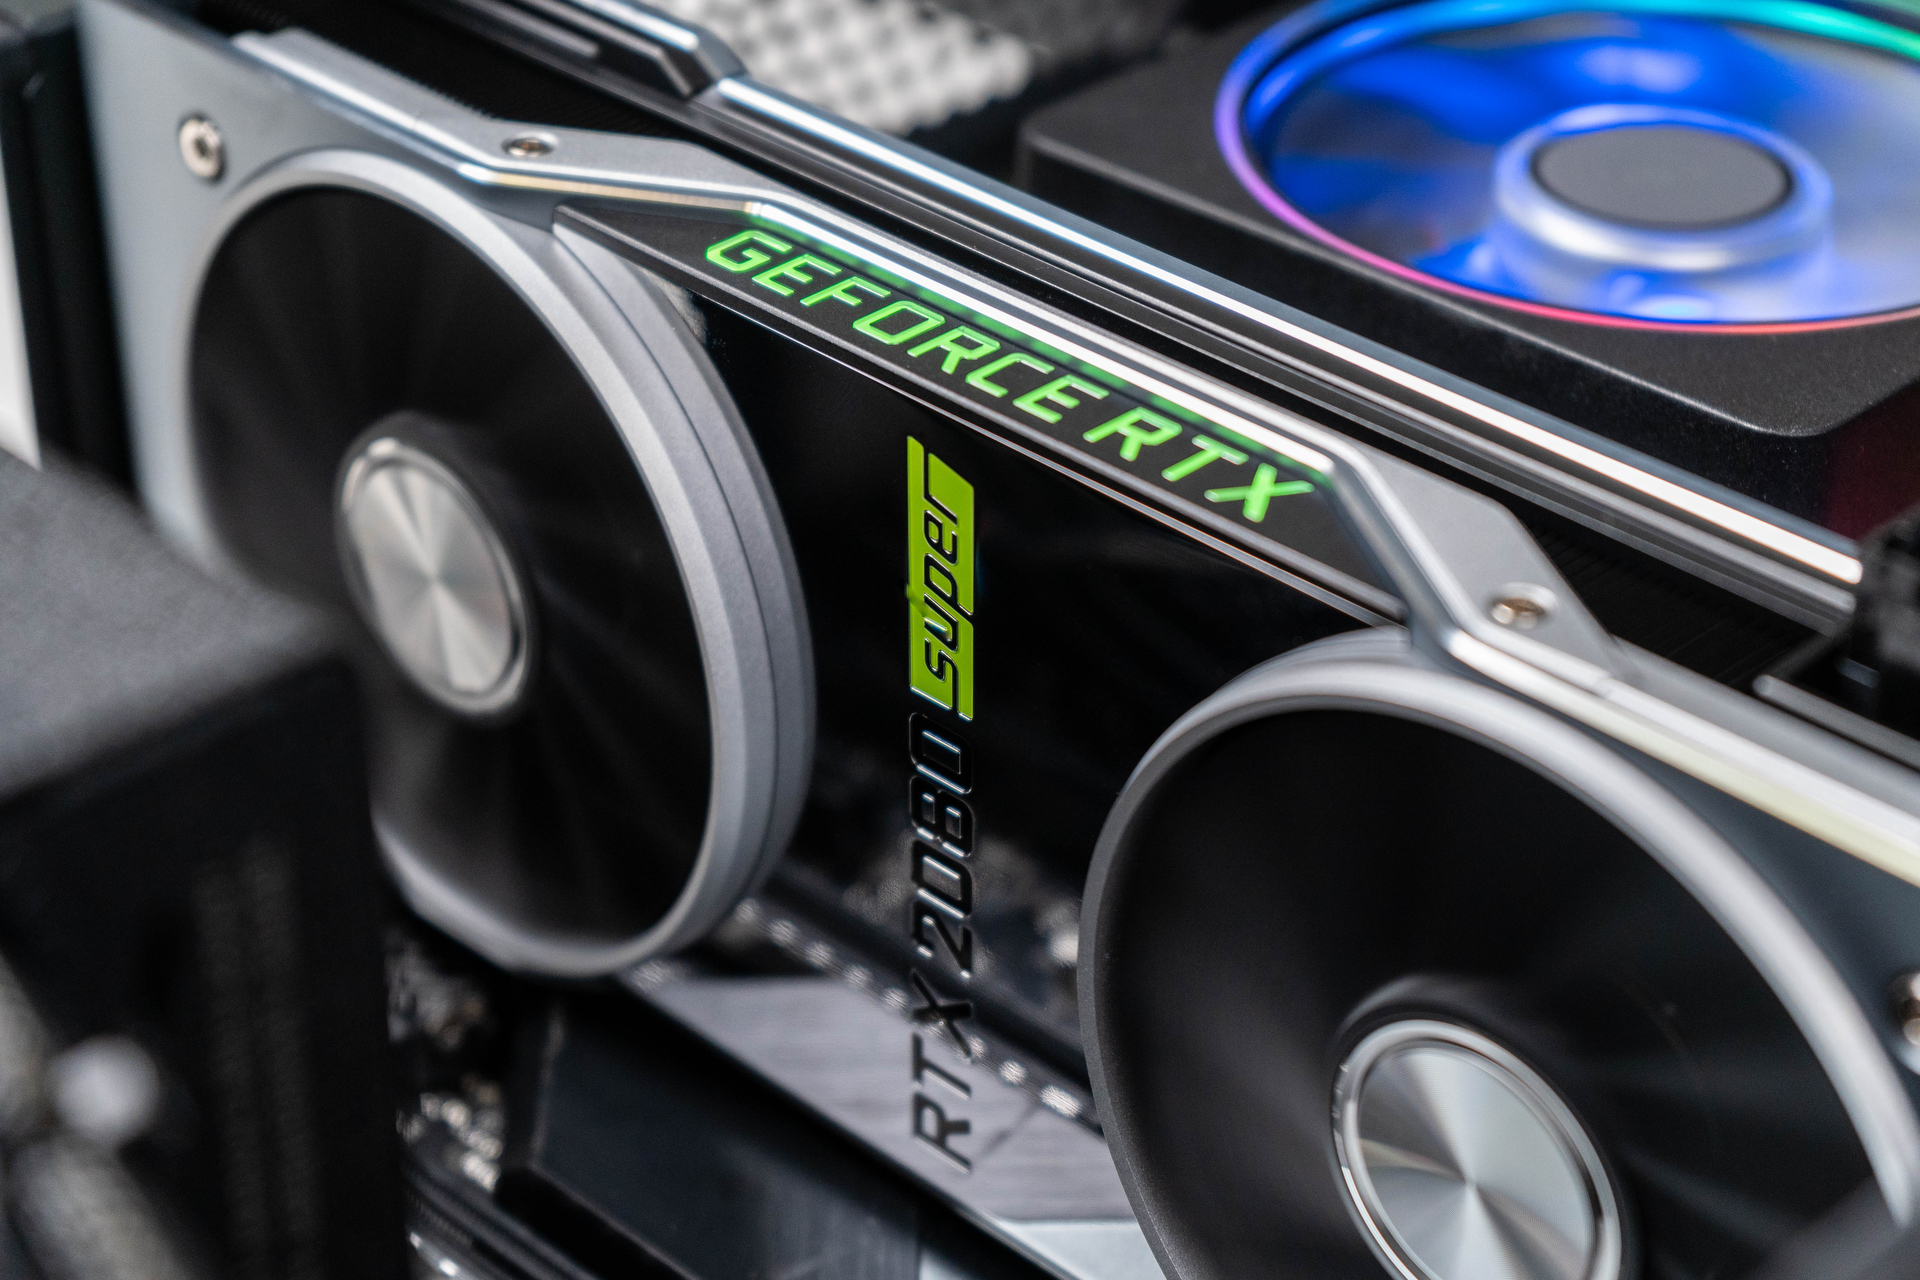
Graphics cards are the heart of any gaming PC. This part renders all your games, providing smooth performance and gorgeous visuals to your monitor display. A good graphics card can also help save you money by reducing the amount of power it takes to run your computer. This is especially important if you’ve got a high-end video card or multiple monitors hooked up to your system. Not only will these extra features draw more power from your battery pack and increase heat inside your case! For users wanting to improve their gaming experience, we strongly recommend to upgrade your graphics card. In this article, we’ll cover a quick and short guide on how to do so:
Step 1 – Check the requirements of your graphics card.
The first step is to check the requirements for your graphics card:
- Check that your power supply has enough juice for your new GPU. Check if it has enough wattage to power your new graphics card.
- Make sure the motherboard is compatible with the graphics card you want. Make sure to check what kind of CPU socket connections it accepts.
- It should also be compatible with the other components in your PC, such as RAM or SSD. If not, buy a compatible one instead. You’ll thank yourself later when everything works properly together without any issues.
- Also, check your current PCI-E slot to know if it has enough power to run your new graphics card. If not, then change it.
- Finally, ensure that there’s room in your case, so all parts fit together properly!
Step 2 – Shut down, unplug, and open the PC case.
Proceed with the following steps:
- Shut down your PC and unplug the power cord from its back. You can also take out all other cables that are connected to it.
- Open up the case and remove all components, including fans and heatsinks, if installed on top of each other.
- Remove specific screws to remove the motherboard from any ports that may be attached (such as USB ports). If nothing else is attached besides this, then you’re good—but if there are more than just two connectors between the motherboard and graphics card, move on to step 3 below!
Step 3 – Replace the old graphics card with the new component.
Make sure you use a screwdriver that fits the screws holding down your old graphics card. Never apply too much force when removing any part from the socket. If you do so, it can cause damage that might not be noticeable but may lead to a severe issue after several months.
Once the old graphics card is removed, insert the new GPU model into the PCI-E slot, ensuring it’s free and aligned with the case.
Step 4 – Secure the new graphics card with screws.
The next step is to secure the new card with screws. The proper way to do this is by using a screwdriver and matching screws appropriate for holding down your graphics card. If you’re unsure what size screw you need, look at the back of your existing GPU. You will see an “X” marking somewhere on it, which indicates where exactly you should use a particular size of the mounting screw. Make sure never to over-tighten the screw in your graphics card.
Step 5 – Plug the monitor cable into the graphics card port.
Once the graphics card is set, plug your monitor cable into the graphics card port.
If you have a VGA monitor, connect it to one of the VGA ports on your graphics card (usually marked with a little triangle). While if you have a DVI or HDMI monitor, connect it through its respective port using an adapter.
Step 6 – Connect the power supply to the graphics card.
The next step is to connect the power supply to your new GPU. Your PC’s motherboard will usually have a slot for this purpose. If not, you can use an external adapter or cable. If you’re unsure which ports are available on yours (and how to use them), consult your PC manufacturer before proceeding.
Step 7 – Replace all components, close the case, and plug in the power supply.
Replace all the other components back to their respective slots. Put everything back in its original place, and clear out any dust before closing the case. Also, make sure that all of the cables are plugged in.
Step 8 – Install the graphics card drivers and test your system.
Once everything is set in place, open your gaming PC and install the driver of your new graphics card. Test your system and ensure there is no issue with your new upgrade.
***
And that’s all it takes! If you have any questions about your graphics card or want to know how to upgrade it on a gaming PC, leave a comment below, and we’ll get back to you immediately.