Upgrading a new graphics card is one of the best moves to improve the performance of your gaming PC. But upgrading a graphics card is not about just buying a newer model. It is also about learning how to properly install the component in your motherboard and making sure that it is properly working. To help you with this, we made this guide.
Here are the steps on how to install a new graphics card on your gaming PC:
1 – Turn off your gaming PC.
First, you need to turn off your gaming PC. Make sure to also turn off the switch on the back of your gaming PC located next to the Power Supply Unit. Once done, plug off the unit.
2 – Remove the side panel of your case/chassis.
Remove the side panel of your gaming PC’s case. You can do so by untwisting the screws on the back of your unit and sliding the side panel backward. Take off the side panel case, and place it on one side.
Once you have removed the side panel, look at the slot where you place your graphics card.
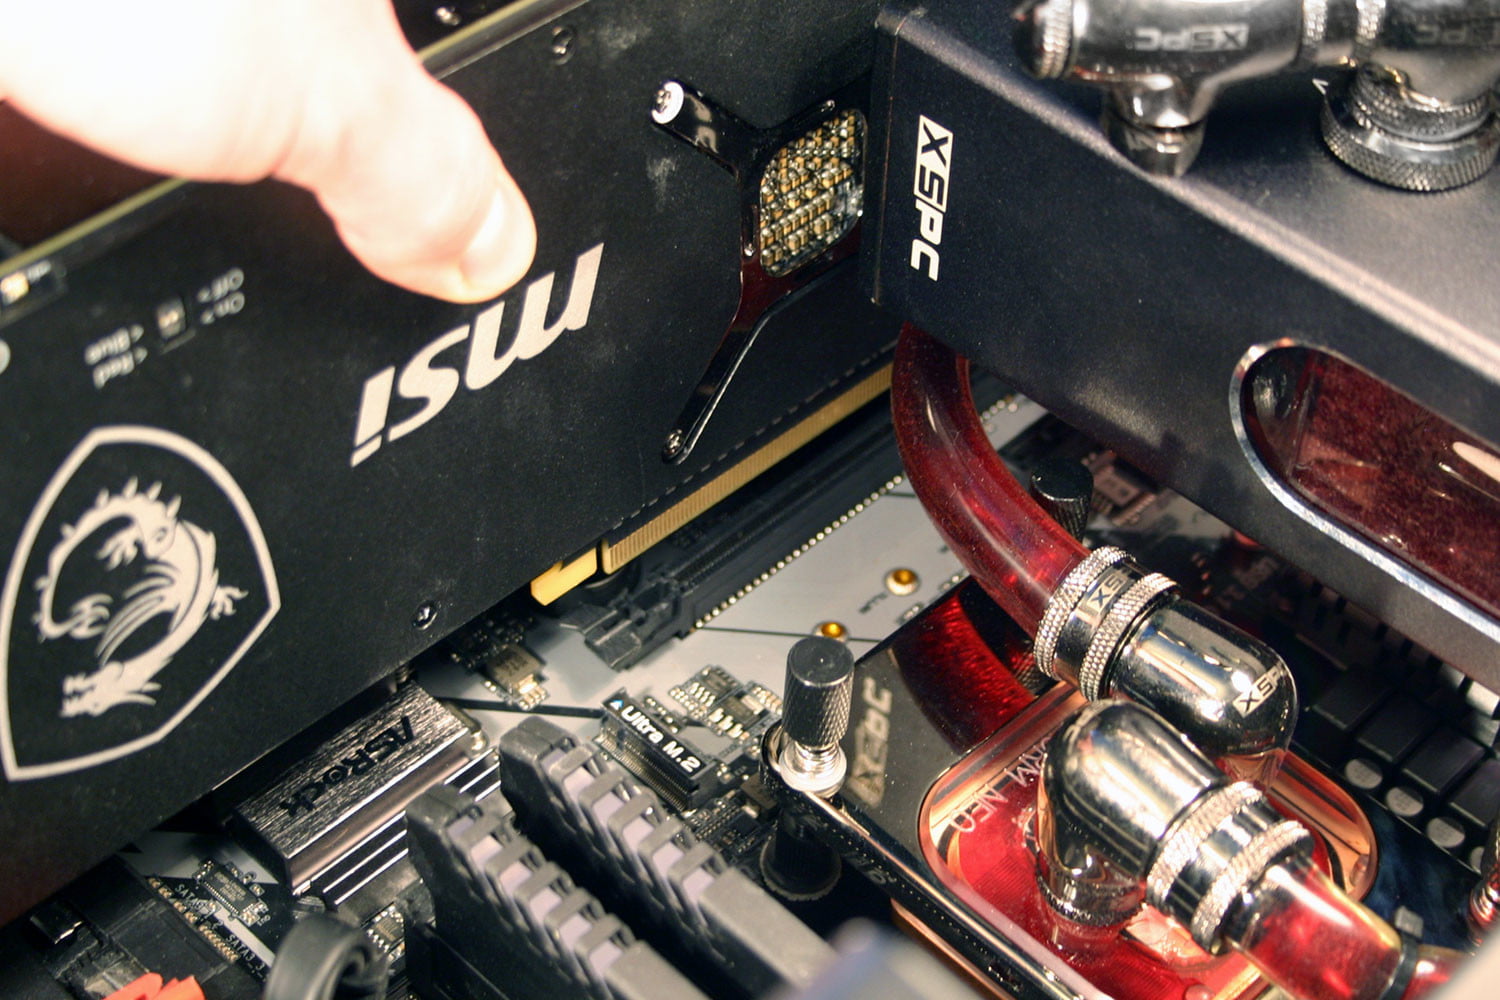
3 – Check the top PCle slot.
Your new graphics card should go into the PCle x16 slot. This slot refers to the long, horizontal connectors located on the lower half of the motherboard. Check your motherboard first since there are units that have a second PCl2 x16 slot that can run at the full x16 speed. However, most of the time, you will only find that any additional PCle x16 slots will only run at x8 speed or x4, depending on the model.
This is why it is best to install your new graphics card in your motherboard’s top PCle x16 slot. It will be the fastest PCle x16 slot on your motherboard and will give you the best performance. You can also check your motherboard manual to find out the exact running speeds of all the PCle slots in your motherboard.
Before anything else, remove the corresponding backplates of your unit. Check the left area of your PCle x16 slots and remove some of the thumbscrews holding them in place. You need to do this to get your graphics card’s display outputs.
Graphics cards usually take up to two slots, but some are large and take up to three. To install such a component, untwist the screws to allow you to place a larger unit. Make sure to put those screws in a safe place, as you will need them to secure your graphics card in place.
Remember that all the display outputs should poke out at the back of your case since you will need them to connect the individual wires to your monitor.
4 – Place the graphics card in the PCle x16 slot.
Remove all the plastic covers on your graphics card’s PCle connector and display ports. If you are replacing your old graphics card with a new and upgraded one, disconnect all display cables attached and unlock the security clip of your PCle slot. By doing so, you should be able to pull your old graphics card away from the slot.
After that, place the new graphics card over the PCle x16 slot. Make sure that all the display outputs can be seen at the back of your case. If so, push your graphics cards into the slot.
If ever you encounter a problem where you can’t push the graphics card all the way into the slot, check if there isn’t a stray backplate in the way. If there isn’t anything blocking the slot, give the graphics card an extra push to shove it in place. If placed correctly, the security clip will automatically pop back up into its position.
5 – Screw the graphics cards in place.
Get the backplate screws as you will need them again to secure the graphics card in place. Put the screws back in their corresponding places. These screws will stop the graphics card from moving, especially once you connect the monitor cables. By screwing your graphics card in place, you are sure that the component is placed steadily on your motherboard.
6 – Connect the graphics card to your power supply.
Now that the graphics card is securely in place, it is time to connect it to your power supply. Check your graphics card first if it has a 6-pin or 8-pin connector. The more advanced your graphics card is, the more connectors it has, but it still depends on the make and model. Whether it is a 6-pin or 8-pin, you should have the corresponding cable in the power supply box.
Thread the connector through the back of your gaming PC case if you still have the space. This will keep things nice and tidy. It will also help with the airflow inside your case. And when connecting your graphics card to your power supply, remember that the connectors are similar to the main power cables on your motherboard. Make sure to push down the connectors so they should click into place.
7 – Install and update your display drivers.
Once you’re sure that you have installed the graphics card properly and it is working, the next thing you need to do is to check that the correct display drivers are installed. If you are upgrading from an old Nvidia card to a new one, you need to download the latest drivers from their corresponding websites.
But if you are upgrading from an Nvidia card to a new AMD card, you will need to remove your existing display drivers and install the AMD drivers. To remove all the current display drivers, go to Windows Settings and select Apps to remove the programs.
For AMD drivers, all you need to do is uninstall the AMD Software. While for Nvidia drivers, you need to uninstall the following programs:
- Nvidia GeForce Experience
- Nvidia Graphics Driver
- Nvidia PhysX System Software
- Nvidia Control Panel
- Nvidia HD Audio Driver
- Nvidia USBC Driver
Once all your old drivers are removed, you will need to restart your gaming PC. Don’t be anxious if the resolution looks off once the system has rebooted. It is because you need to install the graphics drivers first. You can use the links below for your corresponding drivers:
Once you have installed the proper drivers, your gaming PC should return to its normal resolution. After that, you will be ready to play the games again.