For gamers, it’s impossible not to hear of the brand “NVIDIA,” as they are the top GPU manufacturer. But more than that, they also deliver excellent software support for their graphics cards to further enhance their functionalities and improve one’s gameplay. If you use an NVIDIA GPU in your gaming PC, this article will give you some tips on improving its gaming performance with a few tweaks.
1 – Update your graphics card driver.
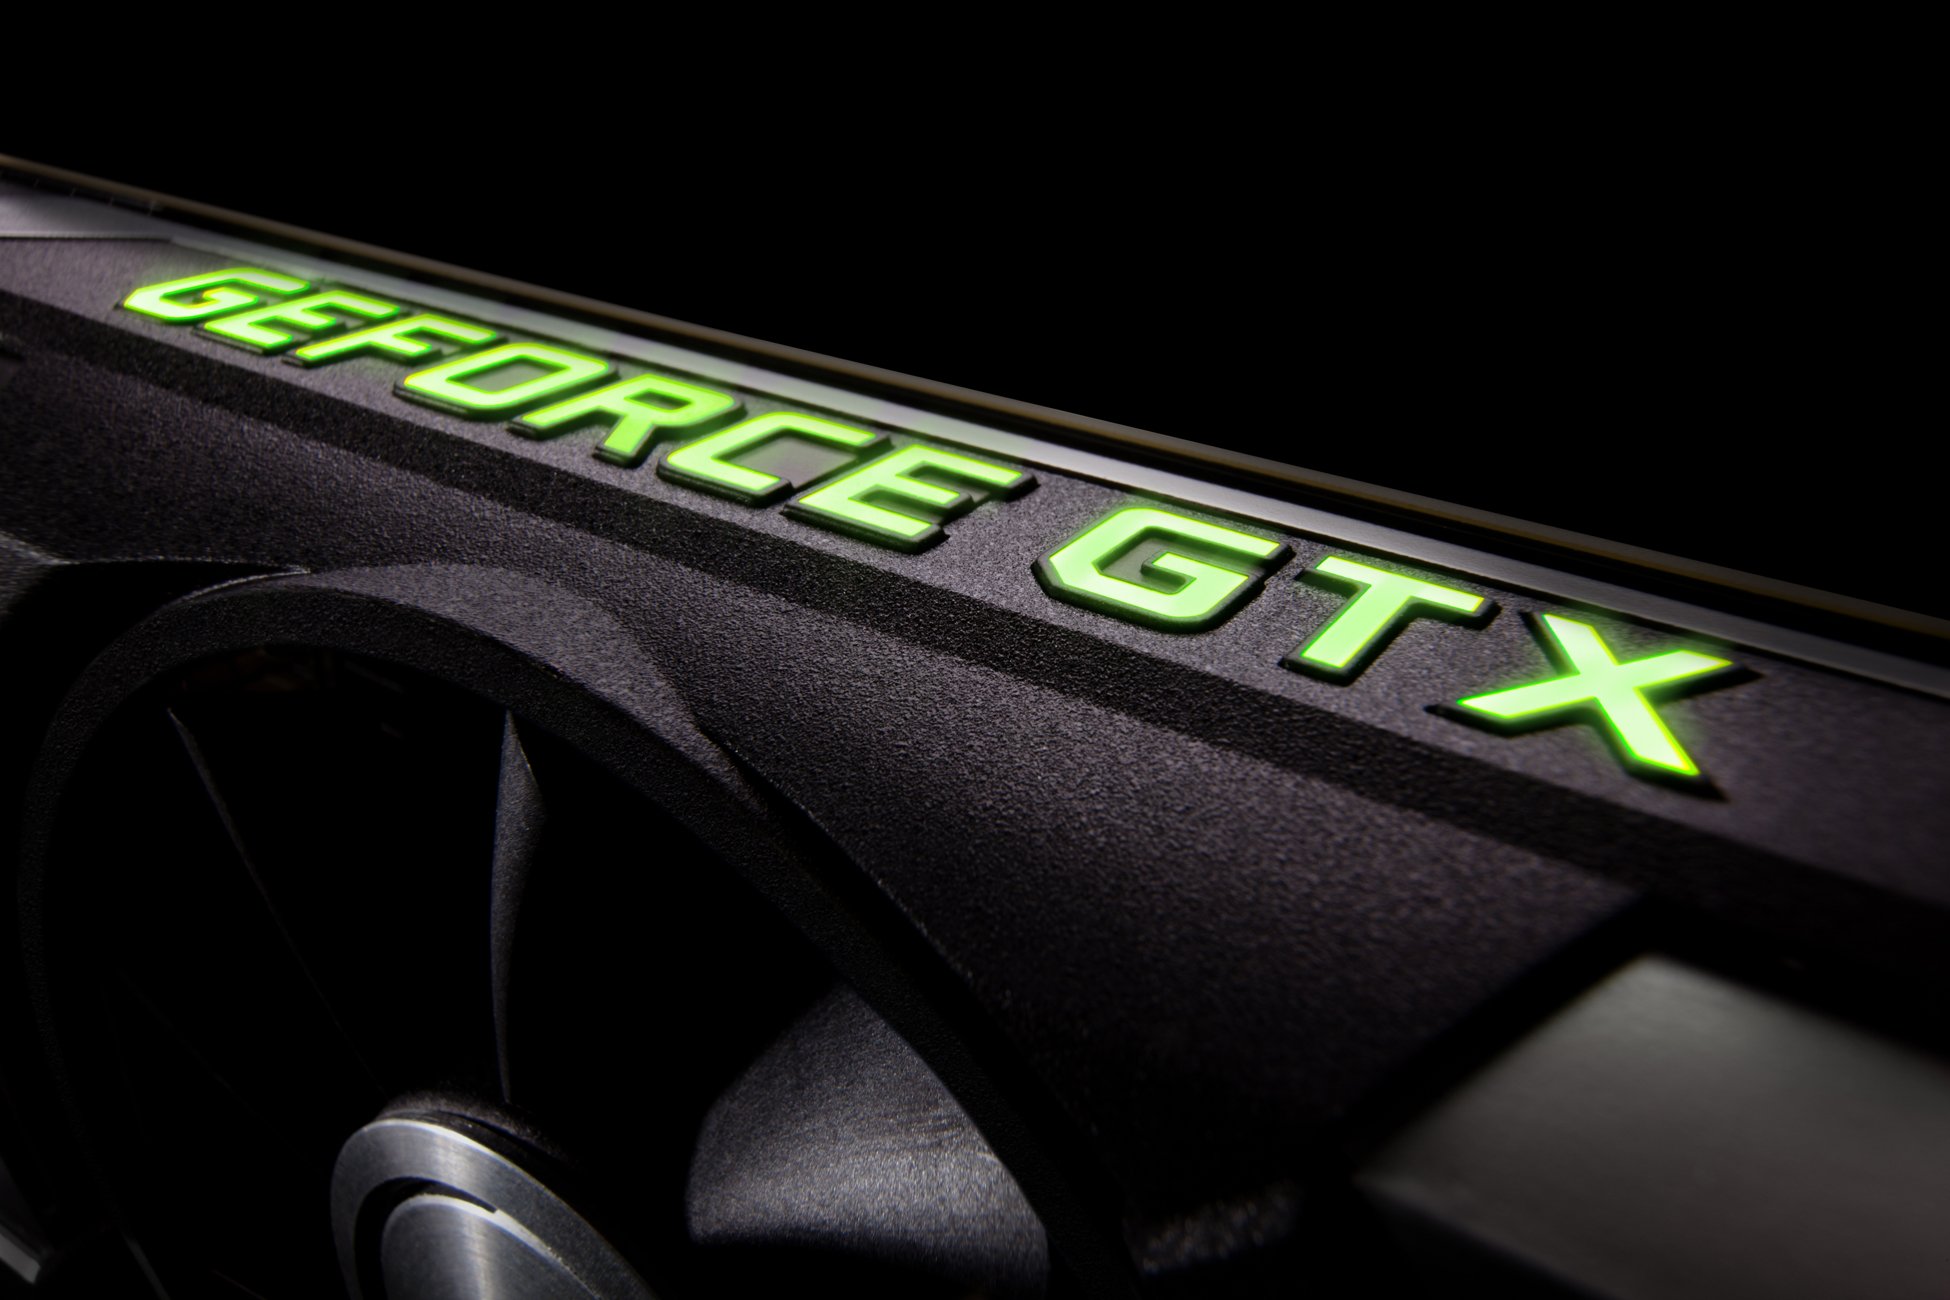
First of all, it’s vital that you are up-to-date and running the latest graphics driver available for you.
To update your NVIDIA graphics card driver, go to Google and search for NVIDIA drivers. Click the result that will take you straight to NVIDIA.com. You can also use this URL: https://www.nvidia.com/en-gb/geforce/drivers/.
Once you are on the web page, scroll down to the manual driver search. Choose your GPU’s product type and series, and input your GPU product model. You must also choose your operating system, language, and download type. Once done, click search.
In the results, check for GeForce Game Ready Driver and select download. Click on the top right-hand side button to download the latest driver for your gaming PC or laptop.
With the latest driver downloaded, open up the software and select OK to extract the driver. Select if you just want to install the graphics driver or GeForce Experience.
If you don’t use shadow play or any features found in the GeForce Experience, you can just choose to download the driver alone. It is because GeForce Experience means more software to run in the background, taking up your CPU cycles and may slow down an old PC unit.
However, if you own a new gaming CP, you can download GeForce Experience to improve your gaming experience without worry.
2 – Optimize NVIDIA Control Panel.
Go to your desktop and right-click anywhere to open the options. Click the NVIDIA Control Panel to execute the program. You can also access the NVIDIA Control Panel by going to the taskbar search and typing “NVIDIA Control Panel.”
Adjust Image Setting
Once you’ve booted into the NVIDIA Control Panel, start by going to the top left-hand side to adjust the image set with a preview.
In this setting, you can change your preference emphasizing by dragging it all the way to Performance.
Next, choose “Use the advanced 3D image setting” and select apply so you can use all of the custom options. And if the NVIDIA Control Panel defaults to use the preference, it will be automatically set to Performance.
Manage 3D Settings
Click Manage 3D settings in the sidebar menu. This is where you’re going to find the bulk of the settings.
To start off, you will find two tabs in this setting: the Global Settings and the Program Settings.
If you select Global Settings, it will be the setting that will be set across the driver for your GPU. While if you choose Program Settings, you can select individual games and applications to set up these settings just for those programs you have chosen.
Configure Support, PhysX
Move to Configure Surround, Physx, and then change the Physx setting from Auto-Select to your NVIDIA GPU model.
Adjust Display Resolution
Select Change Resolution to adjust the display and definition shown on your monitor. If you are using two monitors, applying any changes to the resolution for both is recommended.
Head down to the PC resolution setting, and select the option marked as native. Then go to the right to adjust the Refresh Rate. Remember to always set the highest refresh rate possible for the monitor. Once done, click apply. Repeat the same process if you have a second monitor.
Adjust desktop color settings.
Similar to the resolution setting, apply any changes you’ve set for both if you have two monitors. Go to color accuracy mode and select “Override to reference mode.” This is so you can improve your graphics’ overall colors and vibrance.
Set up G-SYNC.
When setting up G-Sync, you must consider the games you play. G-Sync is a feature highly recommended if you usually play with your graphic settings in relatively high resolution. However, for those who play games requiring higher FPS or want to attain the lowest input latency possible, it’s best not to turn on your G-Sync setting.
Adjust video color settings.
Last but not least, we have the video color settings. Choose your first monitor to apply the setting, and then choose “With the NVIDIA settings” as your option for your color adjustments. Then head to the Advanced tab and select the dynamic range to complete. Once done, click Apply. Make sure to do the same steps for your second monitor.
***
These tips will help you further enjoy the performance of your NVIDIA GPU.