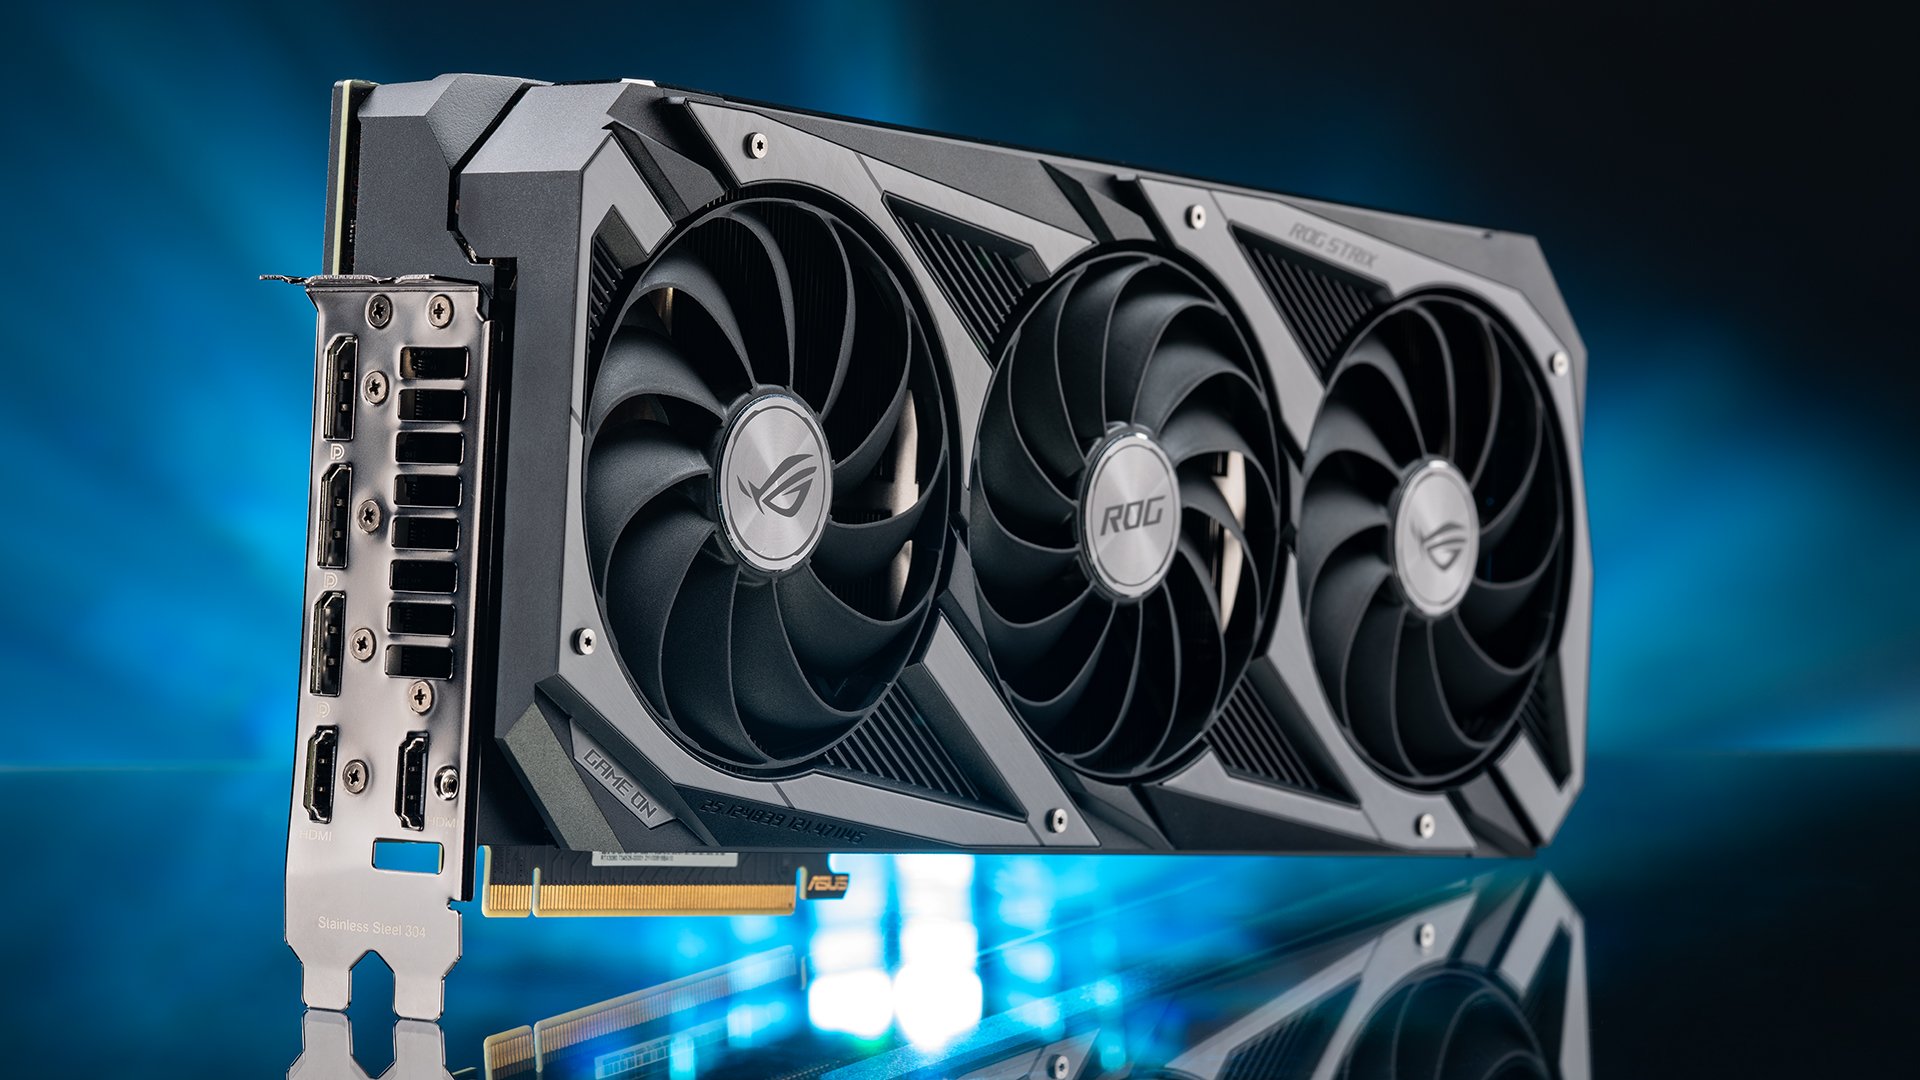
Modern games come with system requirements gamers can use to determine whether their gaming PC unit can run the game. One of the standard hardware requirements set by the game is the type of graphics card installed on your PC. If you’re wondering how to identify the graphics card and drivers on your Windows PC, this article can help you.
Here are five ways to check the graphics card and its drivers installed on your PC:
1 – Control Panel
Check what kind of graphics card is installed on your PC from your Windows Control Panel. If you’re using an NVIDIA GeForce graphics card, you can also access the NVIDIA display driver via the Control Panel.
Follow the steps below on how to inspect the system information and configure the settings of your GPU using the NVIDIA Control Panel:
- Type Control Panel into the Start search bar, then click the program to launch it. Then, select Hardware and Sound.
- Click the NVIDIA Control Panel from the options.
- Once the interface of the NVIDIA Control Panel is running, click System Information. This will show the details of your NVIDIA graphics card, its drivers, and other information related to your graphics hardware.
2 – PC Settings
Another quick way to check your graphics card is from your PC Settings. It will give you the details of your graphics card status, including its properties and compatibility.
You can also check the graphics card status and other information related to your display which can be found in the Settings app.
Follow the steps to check the graphics card through the Windows PC Settings:
- Go to Start Menu and click Settings or the gear icon above the power icon.
- On Settings, click System, then select Display from the System settings menu.
- Click Advanced display settings located at the bottom.
- You can see the graphics card model installed on your PC in the Advanced display settings. It also includes important details, including the following:
- Desktop resolution
- Active signal resolution
- Refresh rate (Hz)
- Bit depth
- Color format
- Color space
- You can also choose the refresh rate for your display to provide smoother motion.
3 – System Information
Windows PC has a built-in tool called System Information which can provide details about your PC’s hardware components. It is a great program to check your graphics card and its installed drivers.
Follow the steps below to use System Information to check your graphics card:
- Open the Start Menu and find System Information. You can also go to the Start search bar and type System Information. Select it once it appears as an option.
- Click the + symbol on Components in the upper left side menu.
- Click Display to expand the list. This will show the following information about your graphics card:
- Name
- PNP Device Type
- Adapter Type
- Adapter Description
- Adapter RAM
- Installed Drivers
- Driver Version
- INF File
- Color Planes
- Color Table Entries
- Resolution
- Bits/Pixel
- Memory Address
- I/O Port
- IRQ Channel
- Driver
4 – DirectX Diagnostic Tool
Another built-in tool you can use to check your graphics card is the DirectX Diagnostic Tool. Use this tool to also troubleshoot video and sound-related issues with your hardware.
Follow the steps below to use the DirectX Diagnostic Tool:
- Go to the Start search bar and type dxdiag, then hit Enter to run the program.
- Click the Display tab to display the information about your graphics driver. This also includes the main graphics driver your hardware is using.
- Any problems discovered by the Diagnostic Tool in your graphics card will be detailed in the Notes box.
5 – Windows Task Manager
Use Windows Task Manager to inspect the graphics card chip in your hardware. To explain it more clearly, a graphics card refers to the graphic hardware extension. The graphics processing unit (GPU) is the specific component that processes the graphics and displays the program you’re running.
Follow these steps to use the Windows Task Manager to identify your graphics card:
- Open Start Menu and type Windows Task Manager, then click it once it appears as an option. You can also simultaneously press Ctrl + Alt + Del on your keyboard to run Task Manager.
- On the Task Manager window, click the Performance tab, then select GPU from the list of options.
- It should display the graphics card installed in your GPU. It will also include several details, like the GPU utilization and the GPU temperature, to see how hard your GPU is currently working.
***
Take note of the graphics card installed on your gaming PC once identified to make it easy for you to check whether it can run a game you’re planning to purchase or not.
If you think your current PC system can no longer run the latest games, maybe it’s time to upgrade your unit. You can check CyberPowerPC’s official website for pre-built or customized gaming PCs.