Running several programs in your system can often use most of the available RAM on your gaming PC. When this happens, you will quickly note that your system is running slow and sluggish when performing simple tasks. There are also times when applications or video games will suddenly start crashing or just freeze. And that’s something you definitely don’t want to experience, especially during the middle of a game. To avoid such issues, it is best to free up your RAM space before running a video game on your gaming PC. But first, let’s discuss what you should know about your RAM.
What is RAM (Random-Access Memory)?
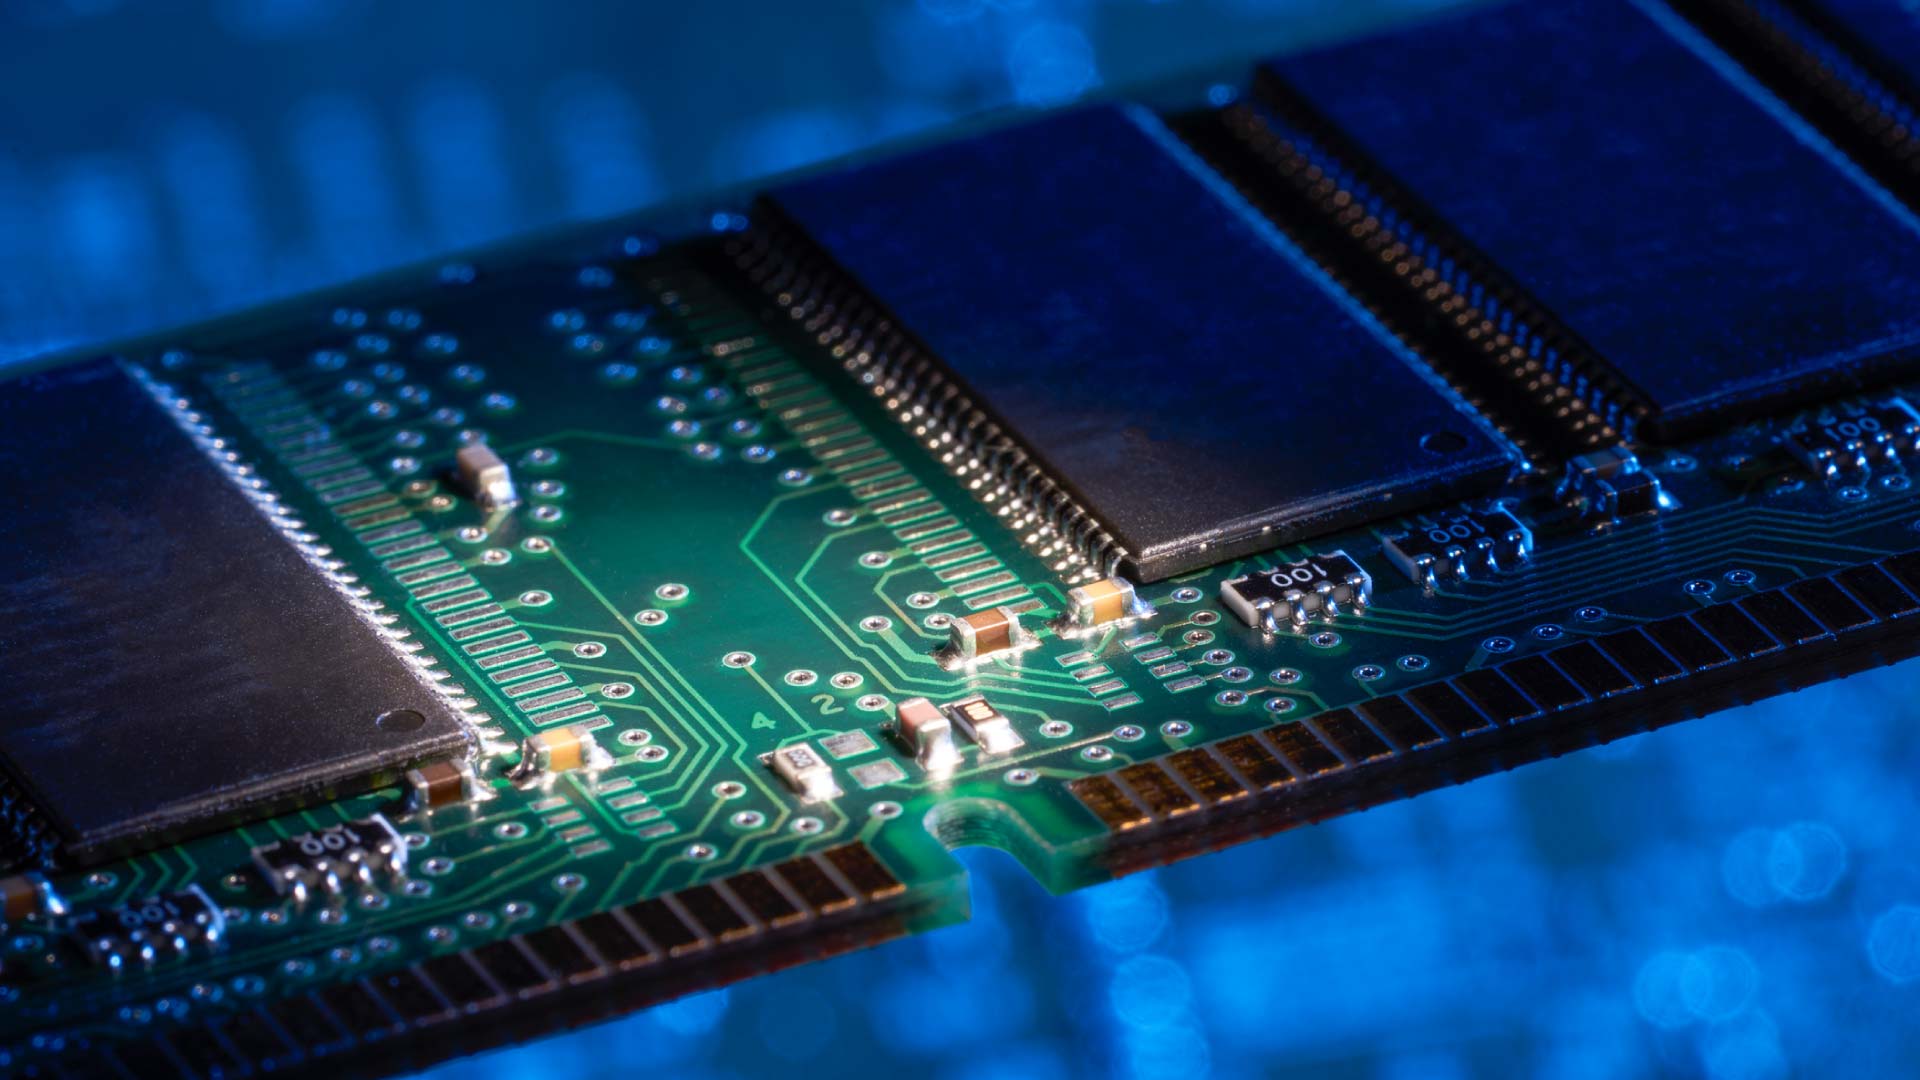
RAM or Random-Access Memory is a memory chip found on the motherboard of your gaming PC. This hardware component stores your short-term memory data. To explain it more simply, your RAM serves as the storage for all the active and running programs on your computer. Your computer uses the information stored in the RAM to complete tasks as your processor simultaneously receives and processes its functions.
Easy Tips to Free Up RAM in your Gaming PC
When your gaming PC uses up all the available RAM memory, its performance will slow down because it doesn’t have enough storage required to complete the tasks. Clearing or freeing up your RAM space will allow your system to complete tasks.
Here are easy tips on how to free up your RAM on your gaming PC:
1 – Restart your system.
The easiest way to clear up your RAM is to restart your PC. Restarting your computer will clean up all the processes running in the background, taking up your RAM storage.
Make sure to regularly restart your computer to keep it from slowing down, especially if you use it all the time. For example, if you haven’t restarted your PC in a week and it is starting to feel sluggish, it is best to reboot your system.
2 – Uninstall unnecessary software.
Check which programs take too much of your RAM processes via Task Manager. Click the Processes tab on Task Manager and the Memory header to sort all the programs from the most to least RAM usage.
Identify which programs or applications you can uninstall. These apps include those you haven’t used in months but are still running in the background. However, ensure these programs aren’t needed when running other programs in your system.
To uninstall any apps, go to Settings, then Apps and Apps & features. Click Uninstall to remove any app you don’t need.
3 – Update Apps and Programs.
Install app updates as it can help reduce RAM waste. Some apps suffer from memory leaks. This happens when a program doesn’t return RAM to the pool once it is done using the resources. Such apps will use more and more of your RAM over time, which will lead to your system slowing down.
If any of your apps have an issue with a memory leak, then it is best to install the latest update. Usually, the latest versions of apps include optimization, so their software will use less RAM than their previous version.
4 – Scan your system for malware.
Any time your PC begins to slow down and an unknown program seems to be taking too much of your RAM, it’s best to check your system for malware. When your PC is infected with malware, it will install rogue software that steals up your system’s resources, especially your RAM.
You can use Antivirus programs or third-party programs like Malwarebytes to scan your system.
5 – Add Virtual Memory.
If ever you encounter an issue that posts an error message that tells your system is low on virtual memory. It is best to increase it to keep your system performance stable.
To adjust your PC’s virtual memory, go to Settings, click System, and then About. On this page, scroll down and click Advanced system settings. A new window will appear upon clicking the link.
On this new window, go to the Advanced tab and click the Settings button under Performance. This will open a new window.
Click the Advanced tab and then the 9 Change button in the Virtual Memory section.
While in the Virtual Memory window, uncheck the box that says “automatically manage paging file size for all drives.”
Click Custom size, then et the initial and maximum sizes to higher values. Make sure your numbers are within the specifications of your RAM.
Add More RAM
If all things fail, adding more RAM to your unit is best. While most gaming PCs can run with 16GB RAM without any issue, it is ideal to have 24GB or 32GB RAM if you’re using many programs. Adding more RAM to your gaming PC will also help improve its performance and boost your system’s speed. You can check our complete guide here on how to purchase and add more RAM for your gaming PC.
Lastly, make sure that you check your PC specification so you can buy RAM compatible with your system. You can buy the same RAM model you are currently using, provided slots are still available in your motherboard.